It's hard to predict what Andy, my husband, will say he feels like having for dinner on any given occasion, mostly because he's so flexible and cooperative where culinary pursuits are involved. He rarely backs away from any dish he's presented with. So, last weekend, I don't know whether I was surprised or nonplussed by the fact that he requested nothing more exotic than hamburgers for his Father's Day dinner. After he told me that, though, I immediately understood that he was hatching a plan; there had to be something unique about those burgers.

Turned out I was right. The burgers would be painstakingly prepared from an interesting mixture of three cuts of beef--brisket, chuck, and beef short ribs--making homemade buns a natural requirement. Andy carefully selected the meat himself from a butcher the day before it was to be cooked. He took it right home, sharpened his chef's knife, and with surgical precision trimmed just the right amount of the fat, cut the meat into chunks, and then semi-froze them. Once the pieces were firm but not rock solid, he ground them using the meat-grinding attachment that hooks onto my beloved red mixer (oh yes, he sanitized my baby thoroughly when he was done). No herbs, spices, or flavorings were added, mind you--not even salt or pepper. Just the unadorned, unadulterated meat.

On Father's Day, he grilled those burgers for us with the utmost care, and they were a sight to behold. Now, I'm not exactly a diehard fan of any kind of meat. In fact, I don't think it would be hyperbole for me to say I am often indifferent to it. You'll never catch me prowling through meat-centric blogs or waxing rhapsodic about the delicious bone marrow I sampled at a fancy restaurant (involuntary shudder), that's for sure. But, give me a well assembled, expertly grilled hamburger made from sensational stuff and you'll get a noticeable reaction out of me. Maybe even a deeply sincere, "Yummmmm."
 Anyway, we placed those hot, glistening patties tenderly atop the classic hamburger buns that I'd baked fresh the same day and, served with coleslaw, a few crunchy chips, and rosy-red watermelon slices, it all made for a fine and unfussy Father's Day supper, I must say. (Gosh. Maybe I actually like meat more than I thought?)
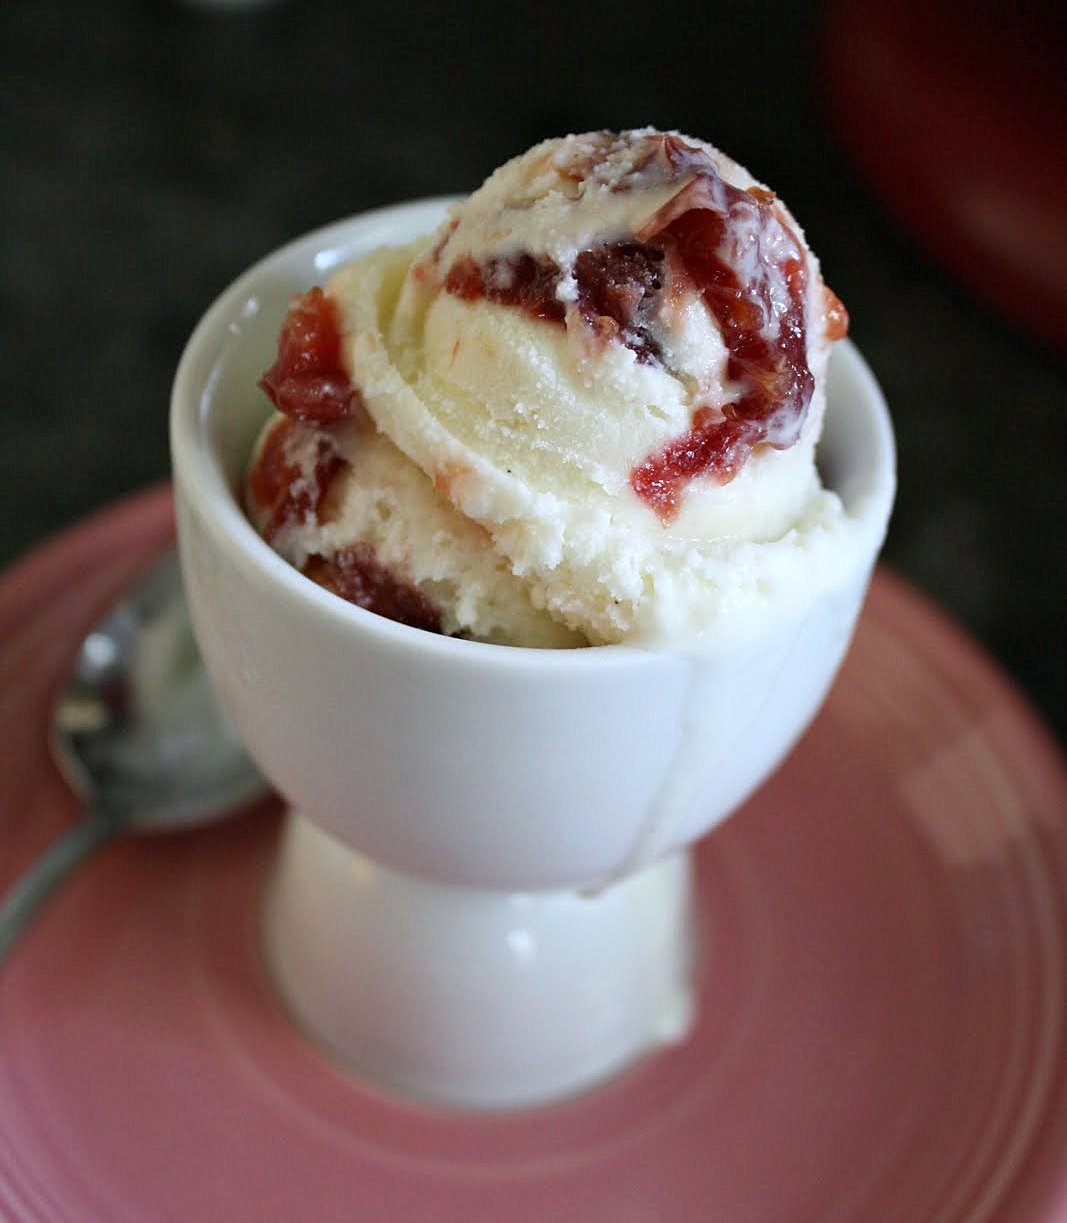
About this recipe . . .
You might say this burger bun recipe came to me, typed on an old index card, from my late mom (that would be Stella, 1927-2006; honestly, that woman just baked non-stop). Her little handwritten note on the back indicates she first found it in a 1955 Better Homes and Gardens pamphlet called "America's Best Homemade Pies, Cakes and Breads." Her recipe as written would have produced enough for a starving battalion so I reduced the yield down to one dozen standard-size buns, and I fiddled with the method just a tiny bit.

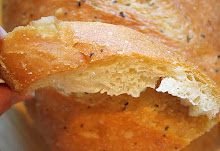
This is a nice, soft, all-purpose burger/sandwich bun with a slightly detectable sweetness, a smooth crumb, and it's sturdy enough to perform its duty admirably. It won't fall apart even if you stack your juicy burger with loads of condiments. These freeze well, too.
Classic Homemade Hamburger Buns
(For a printable version of this recipe, click here!)
Ingredients:
4 cups unbleached all-purpose flour, lightly whisked or sifted after measuring
2 and 1/4 teaspoons instant yeast (no need to proof instant yeast)
1 cup warm water
3 oz. vegetable oil
1/4 cup granulated sugar
1/2 tablespoon coarse kosher salt
2 medium size eggs, lightly beaten (or 1 and 1/2 large eggs)
2 tablespoons melted butter, to brush atop unbaked buns
In the large bowl of your mixer, using the paddle attachment, combine two cups of the flour and yeast on low speed for several seconds. In a medium bowl, by hand, stir together the warm water, oil, eggs, sugar, and salt. Add this into the mixer bowl. Beat on low speed for about 30 seconds; stop and scrape the bowl and beaters, then increase the speed to medium and beat for 3 more minutes, again stopping to scrape as needed.
Remove the mixer bowl from the mixer and stir in the remaining flour by hand. If it's extremely soft and still almost liquidy, add in a little more flour, one tablespoon at a time until it seems more workable. Dump the dough out onto a well floured work surface and knead it until it feels smooth and elastic.


Put the ball of dough into a large bowl that's been oiled or sprayed with vegetable spray. Turn the dough over so it's completely coated. Cover the bowl with a piece of oiled/sprayed plastic wrap. Cover that with a thin dish towel, and place the bowl in a relatively warm spot. Let the dough rise until it's about doubled, perhaps one hour or so. (This is kind of a rich yeast dough--what with the amount of eggs, oil, and sugar it contains--so don't worry if you don't see a quick dramatic rise the way you probably would with a leaner white bread dough. Rich doughs are more subtle in this respect.)
Cover two half-sheet pans with parchment paper.
Deflate the risen dough on a very lightly floured surface. Divide it into three equal portions using a bench knife, or a very sharp chef's knife. Cut each portion into four pieces. Cover the pieces with a sheet of sprayed plastic wrap and let them rest for about ten minutes.

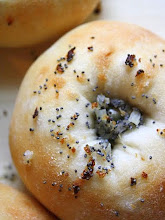
Uncover them and shape each one them into a smooth ball by rolling it in a small circular motion on your work surface, held gently beneath your closed fingers and palm. Tightly pinch closed any seam on the bottom. Place six buns on each of the two half-sheet pans. Press them down into 3 and 1/2 inch circles.

Cover them again with the sprayed plastic wrap and a light dishcloth and put them in a warm spot. Preheat your oven to 375 degrees, and let the buns rise for about half an hour as the oven heats up.
Just before placing the risen buns into the oven, brush the top of each one with melted, unsalted butter.
The buns will bake quickly. Peek at them after about ten minutes. Take them out when the tops are golden and the bottoms are deeply golden.

Let them cool completely, on a rack, before slicing them for burgers.

(If you'd like to comment on this post, or to read any existing comments, please click on the purple COMMENTS below.)